This guide to sodding explains how to install sod the right way in Houston: choose the right season, prep the soil, match the grass to the property, lay tight seams, water correctly, and protect the lawn while roots establish.
Sodding works best when the lawn is cleared, graded, amended, and watered before the first pallet ever touches the yard. In Houston, the biggest failure points are poor soil contact, heavy clay, uneven watering, bad drainage, wrong grass selection, and mowing too soon after installation.
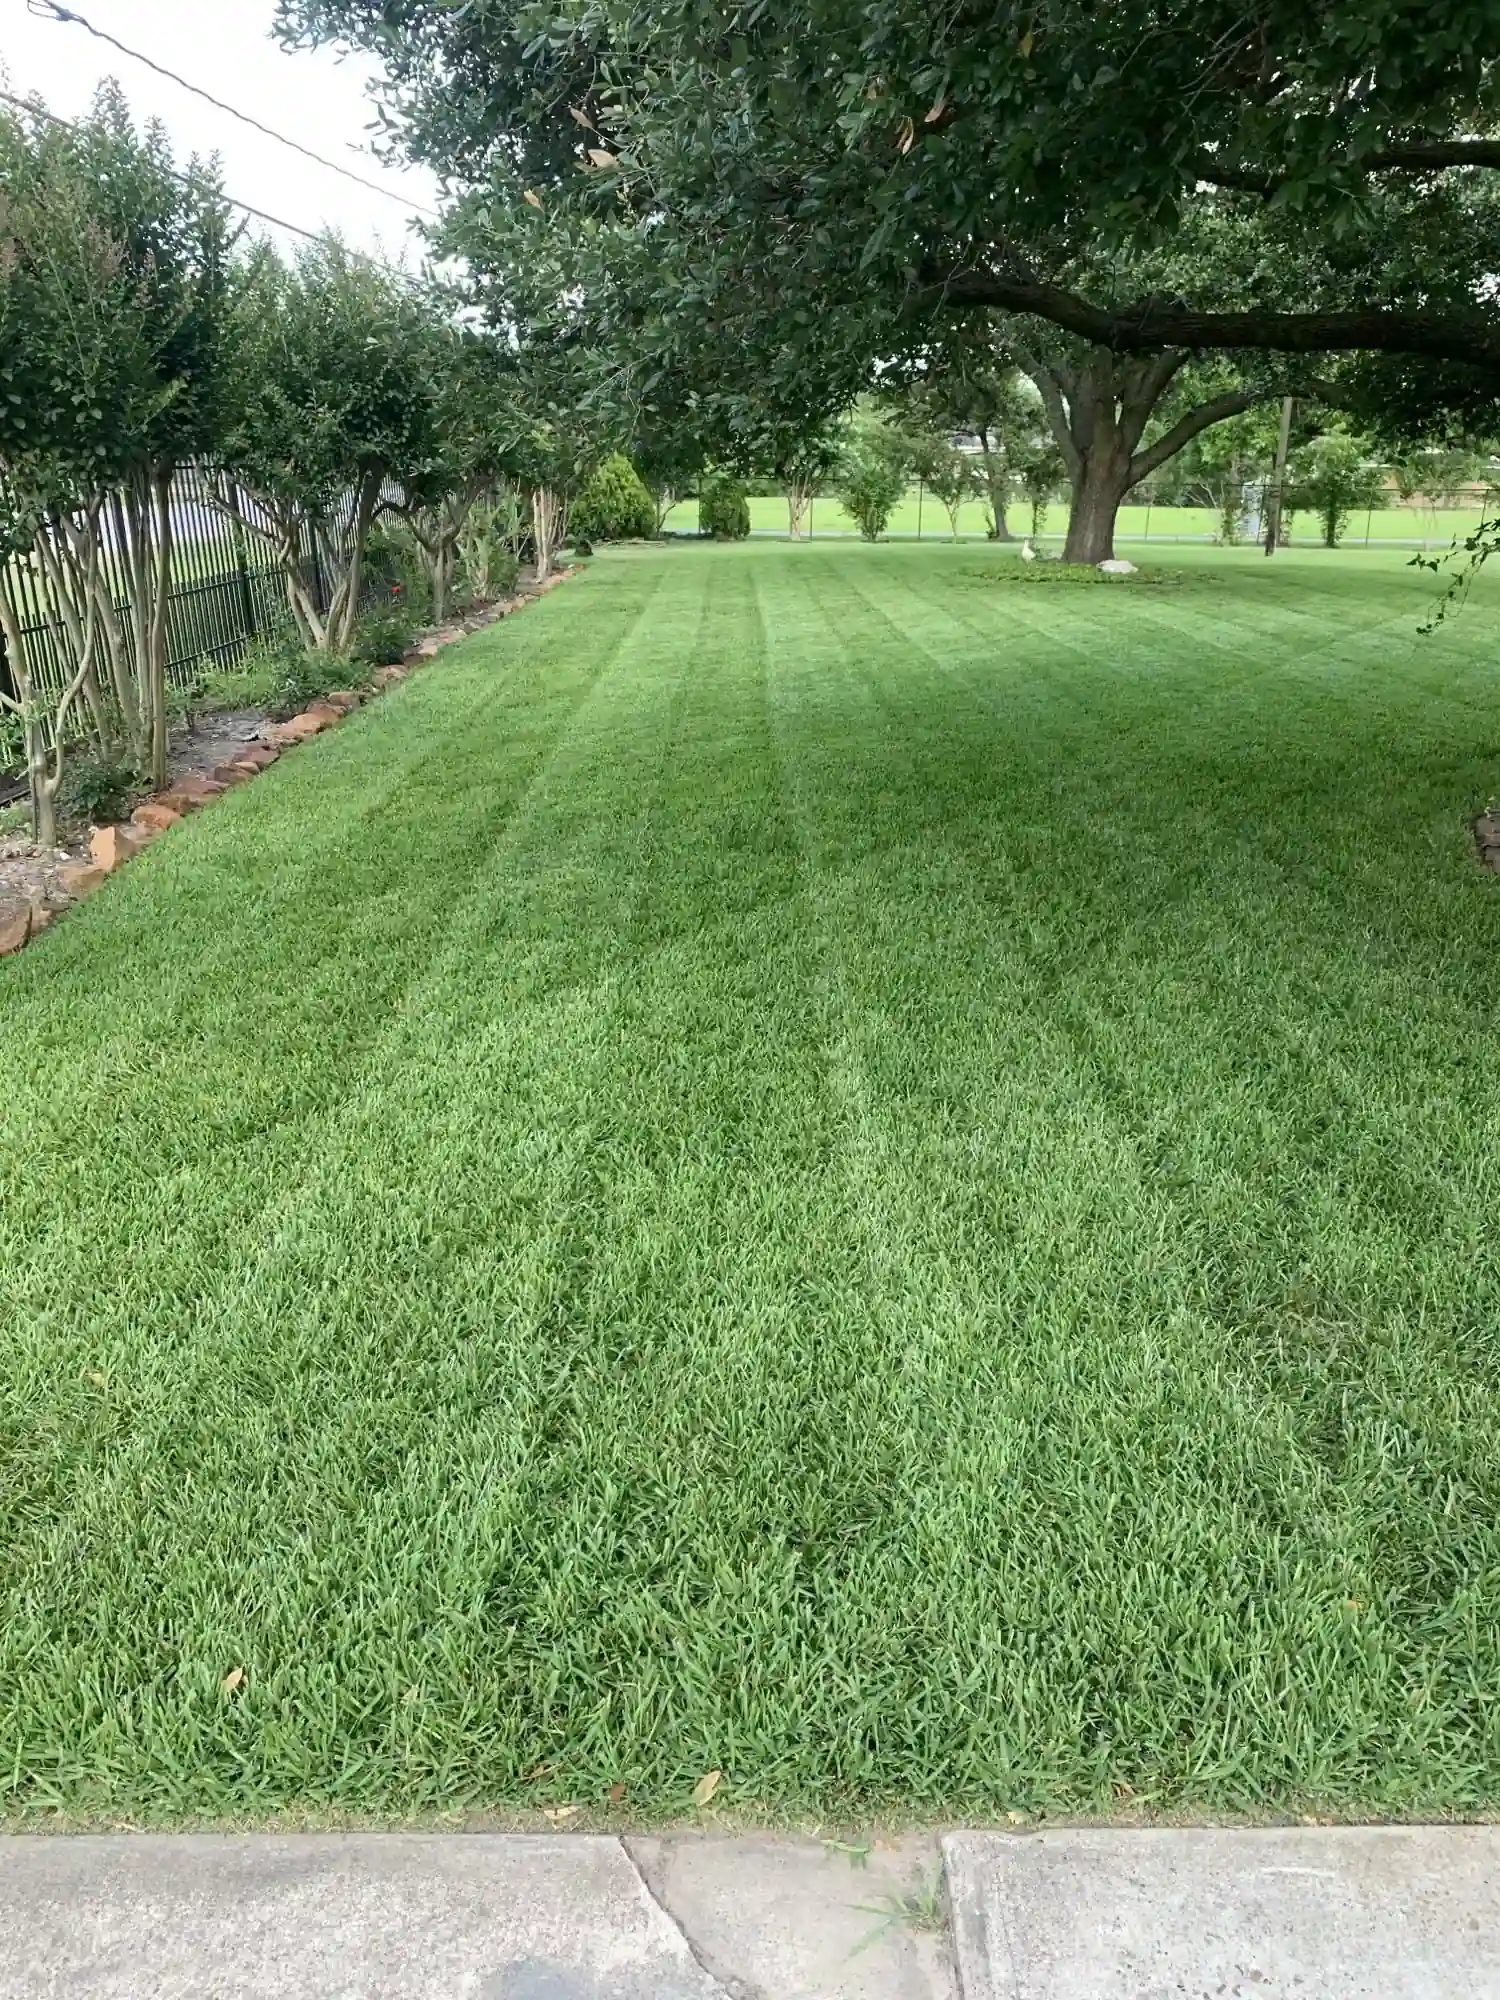
Sodding a beautiful, lush lawn is a goal for many homeowners, and when it is installed correctly, the results are fast and dramatic. But a strong new lawn takes more than throwing down pieces of grass. It requires the right timing, proper soil prep, solid soil-to-sod contact, and a watering plan that matches Houston heat.
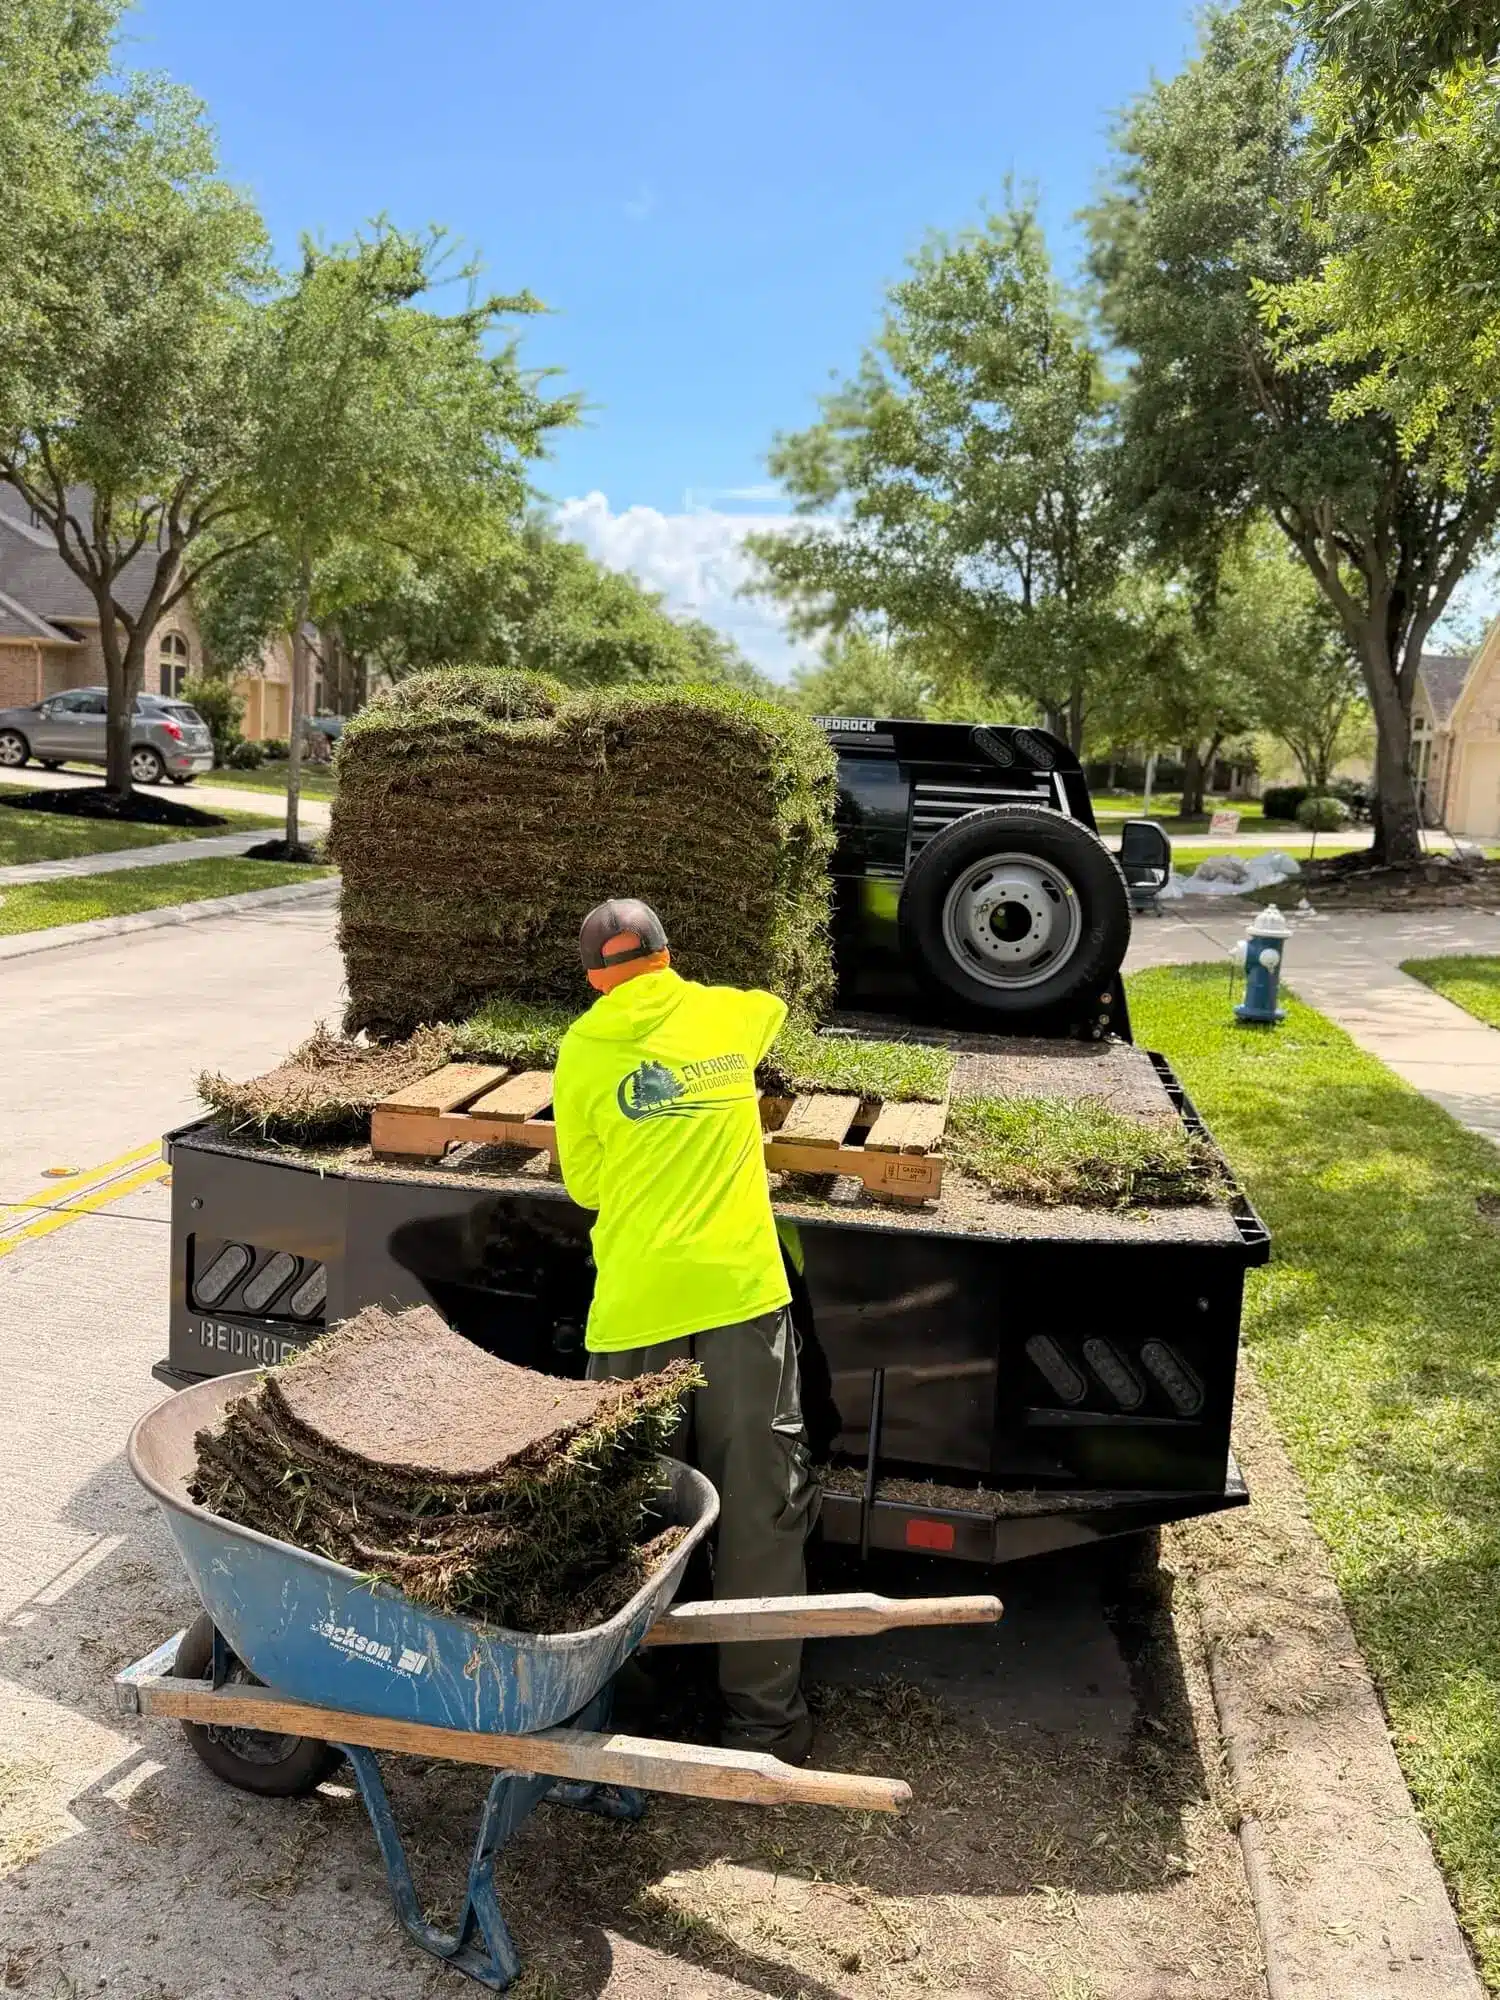
At Evergreen Outdoor Services, we have installed and repaired sod across Houston properties in different seasons, soil conditions, and sun exposures. This guide is built from real field experience, not theory. You will learn when to install sod, how to prep the area, what materials matter, and how to protect the new lawn while it roots.
This post has been refined for the 2026 season with better Houston-specific guidance, stronger internal resources, and clearer separation from our sod cost, sod failure, and professional sod installation pages.
Timing matters.
Sod can be installed in most seasons if the job is handled correctly, but some windows are easier than others. In Houston, spring and fall usually give homeowners the most forgiving conditions because temperatures are milder and moisture is easier to manage. Spring gives the lawn time to establish before the August Burn. Fall gives roots a chance to settle without peak summer heat beating down on every seam.
Summer sodding is possible, but it demands discipline. Fresh sod dries out fast in 7:00 AM steam, direct sun, and hot wind bouncing off driveways and sidewalks. Winter sodding can also work, but rooting slows when warm-season grass is not actively growing.
| Season | How It Performs | Houston Watch-Out | Best Use |
|---|---|---|---|
| Spring | Strong establishment window as warm-season grass wakes up. | The False Spring can make lawns look ready before roots are truly active. | Full lawn replacement, front lawn upgrades, repair before summer. |
| Summer | Fast growth potential with proper water management. | Sod can dry out quickly, especially near concrete, fences, and sunny slopes. | Urgent lawn repairs, new construction, curb appeal projects. |
| Fall | Good recovery window after summer stress. | Late installs may root slower as temperatures drop. | Repair after heat damage, smoother establishment, pre-winter improvement. |
| Winter | Still possible, but rooting is slower. | Cold snaps and dormancy can delay visible progress, so expectations and aftercare matter. | Schedule-sensitive projects where appearance or erosion control matters. |
The short answer: early spring and fall are usually the easiest windows for homeowners. But with proper prep and aftercare, professional-quality sod installation can happen outside those windows too.
Winter sodding is not automatically a bad idea in Houston. In some cases, waiting until spring can actually create more problems. Bare soil can erode through winter rain, muddy areas can get worse, and the lawn may need extra repair work by the time warmer weather returns.
The other benefit is property-specific establishment. Even though sod may root and green up more slowly in cooler weather, it begins settling into your actual lawn conditions earlier. It goes through that first winter on your soil, under your shade, with your drainage, and with your watering habits. With proper care, that can give the lawn a cleaner head start when spring growth kicks in.
So no, winter is not always the “wrong” time to sod. It just requires honest expectations. You may not get the instant spring-green look right away, but you can still protect the soil, improve curb appeal, reduce erosion, and position the lawn for a faster cleanup once temperatures warm back up.
Grass selection is not cosmetic.
The right sod type depends on sunlight, shade, drainage, foot traffic, irrigation, and how much maintenance the homeowner is willing to keep up with. A sunny Bermuda lawn and a shaded Kingwood side yard are not the same problem.
| Sod Type | Best Fit | Strengths | Watch-Out |
|---|---|---|---|
| Bermuda | Full sun lawns and active yards. | Fast recovery, strong spreading, handles wear well. | Struggles in shade. Needs sun to perform. |
| St. Augustine | Many Houston residential lawns with partial shade. | Thick look, rich color, good warm-season performance. | Needs proper watering, mowing height, and disease awareness. |
| Zoysia | Homeowners wanting a dense, refined lawn. | Good heat tolerance, dense growth, lower mowing frequency once established. | Slower recovery than Bermuda and can be more expensive. |
If you are still comparing options, review our guide to Houston’s most popular grass types. That resource goes deeper into where St. Augustine, Bermuda, and Zoysia make the most sense.
Start with the math.
Measure the lawn area carefully before ordering sod. Straight rectangles are easy, but most yards have curves, beds, sidewalks, driveways, tree rings, and odd corners. Miss those details and you either run short or pay for extra material you do not need.
As a general planning rule, many projects need extra sod to account for cuts, curves, damaged pieces, and tight edges. Homeowners often underestimate this part because a lawn looks simple from the street. It gets more complicated once you start cutting around beds, downspouts, trees, sprinkler heads, and curved concrete.
Before ordering sod, use Evergreen’s free tools to think through square footage and project planning.
Use the Free Tool Hub Calculate your yard’s square footage and material needs instantly, no more guessing at the supply store.Soil prep decides the job.
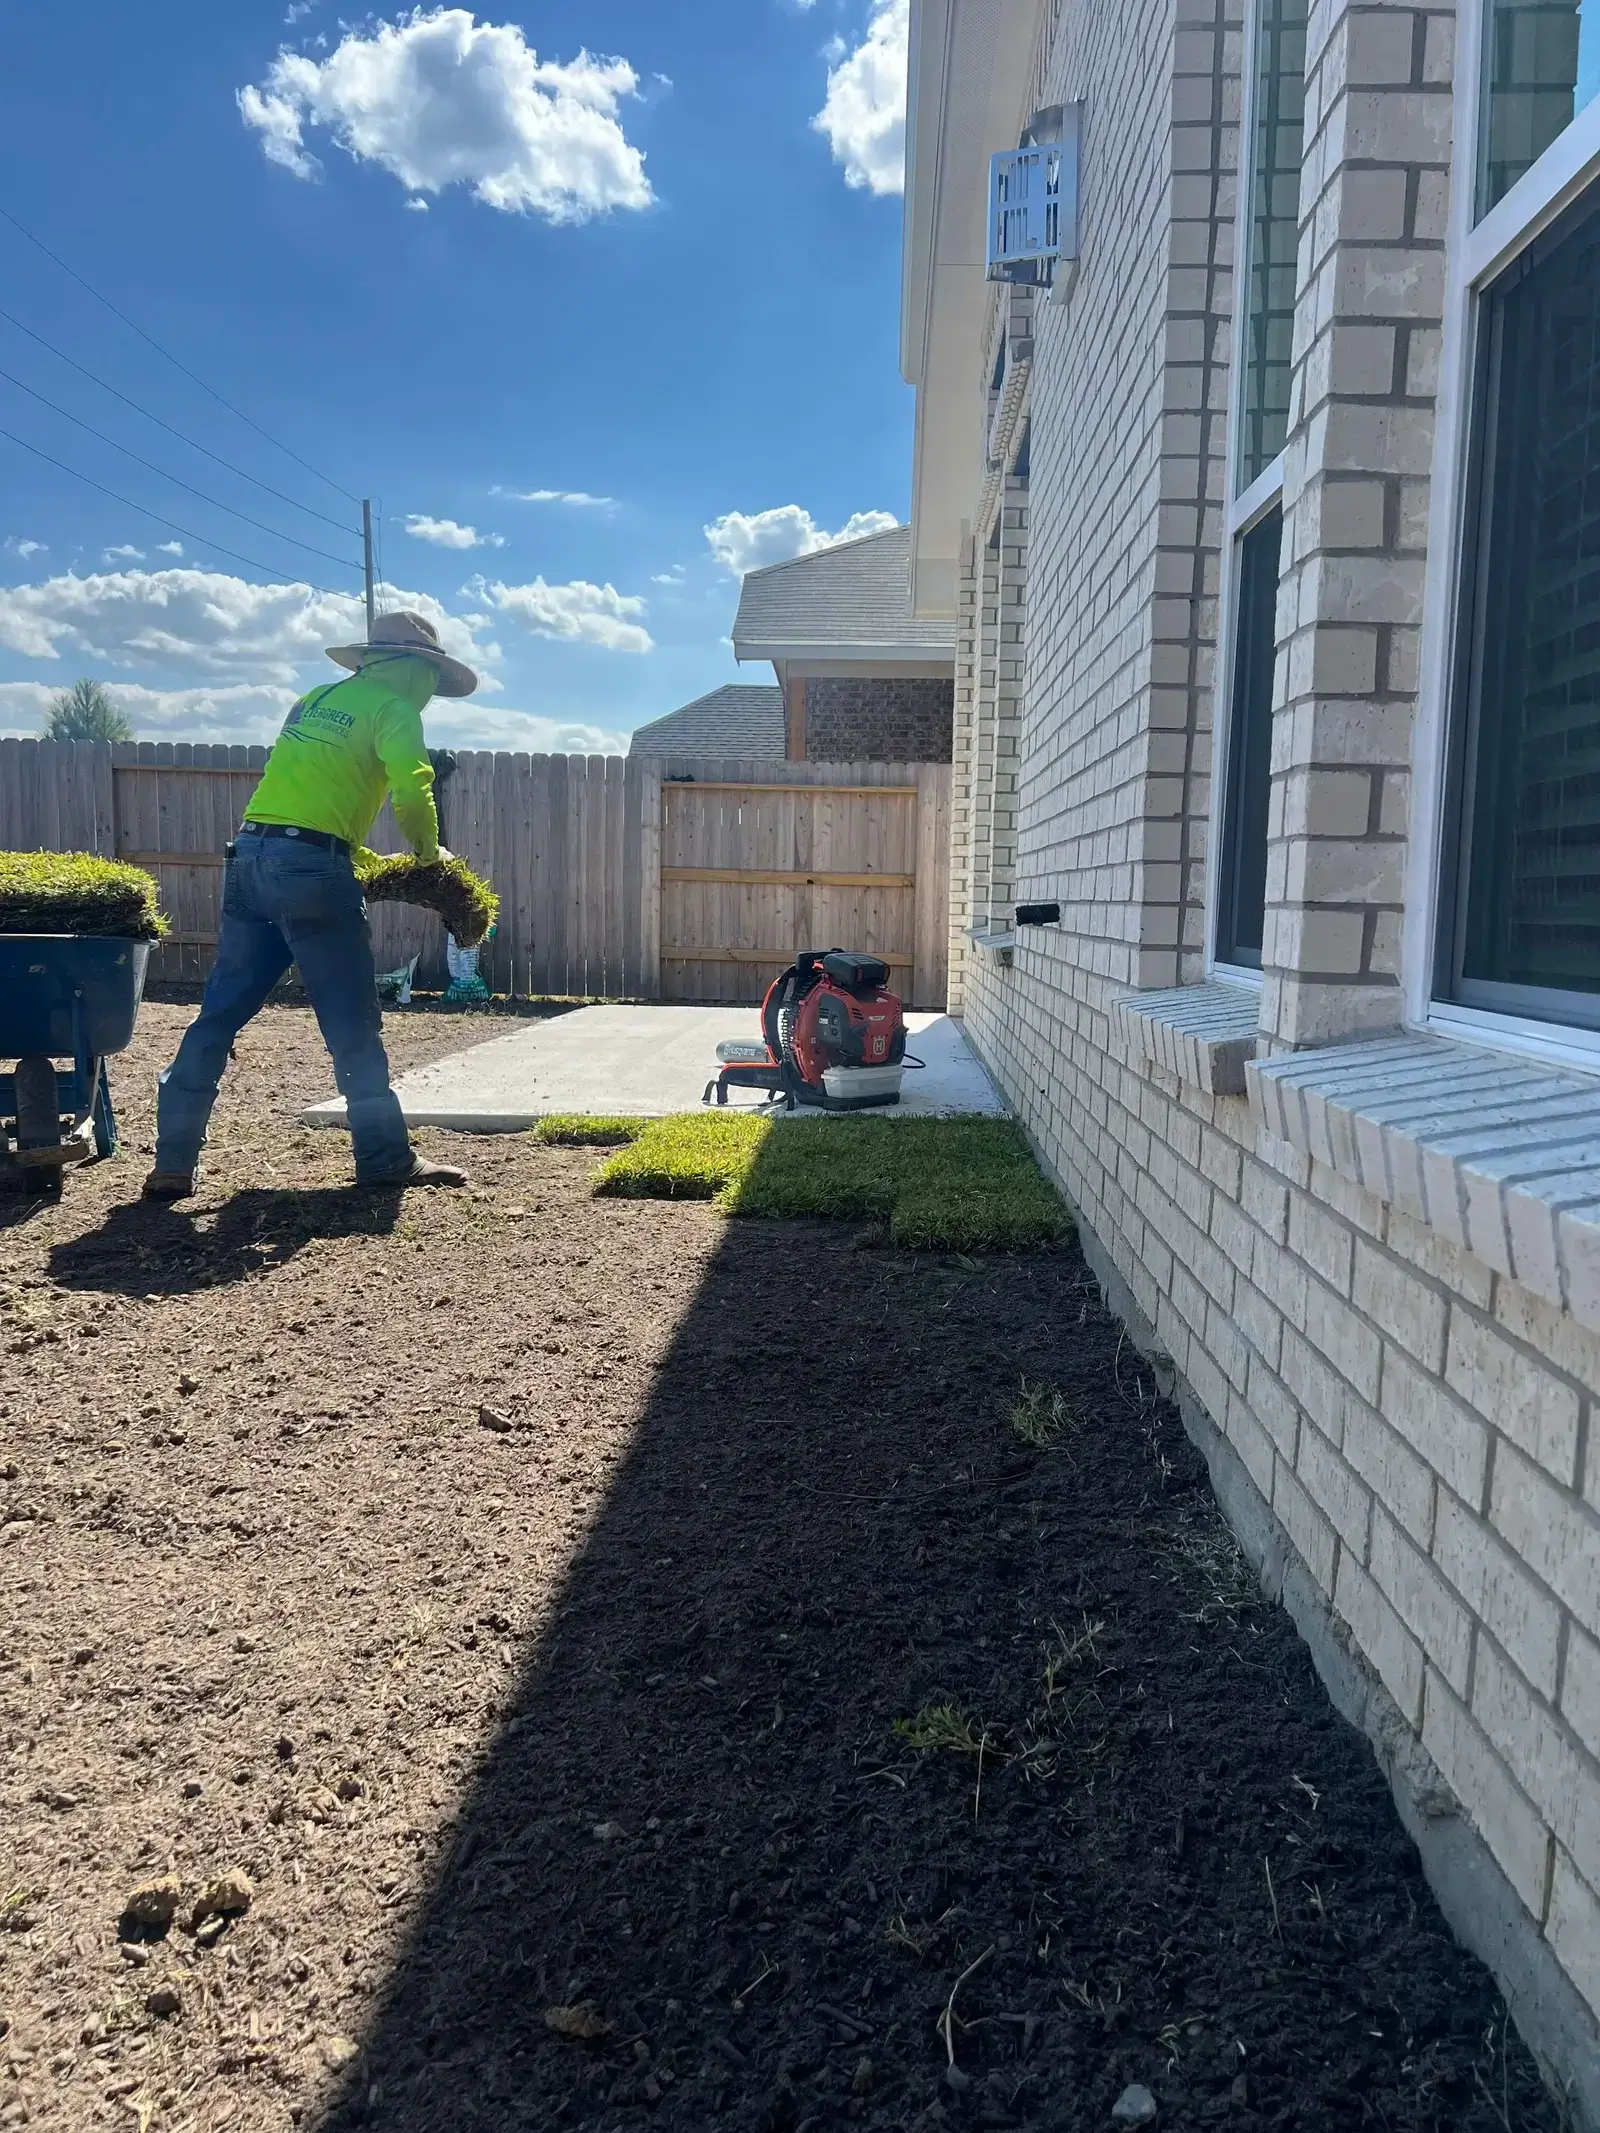
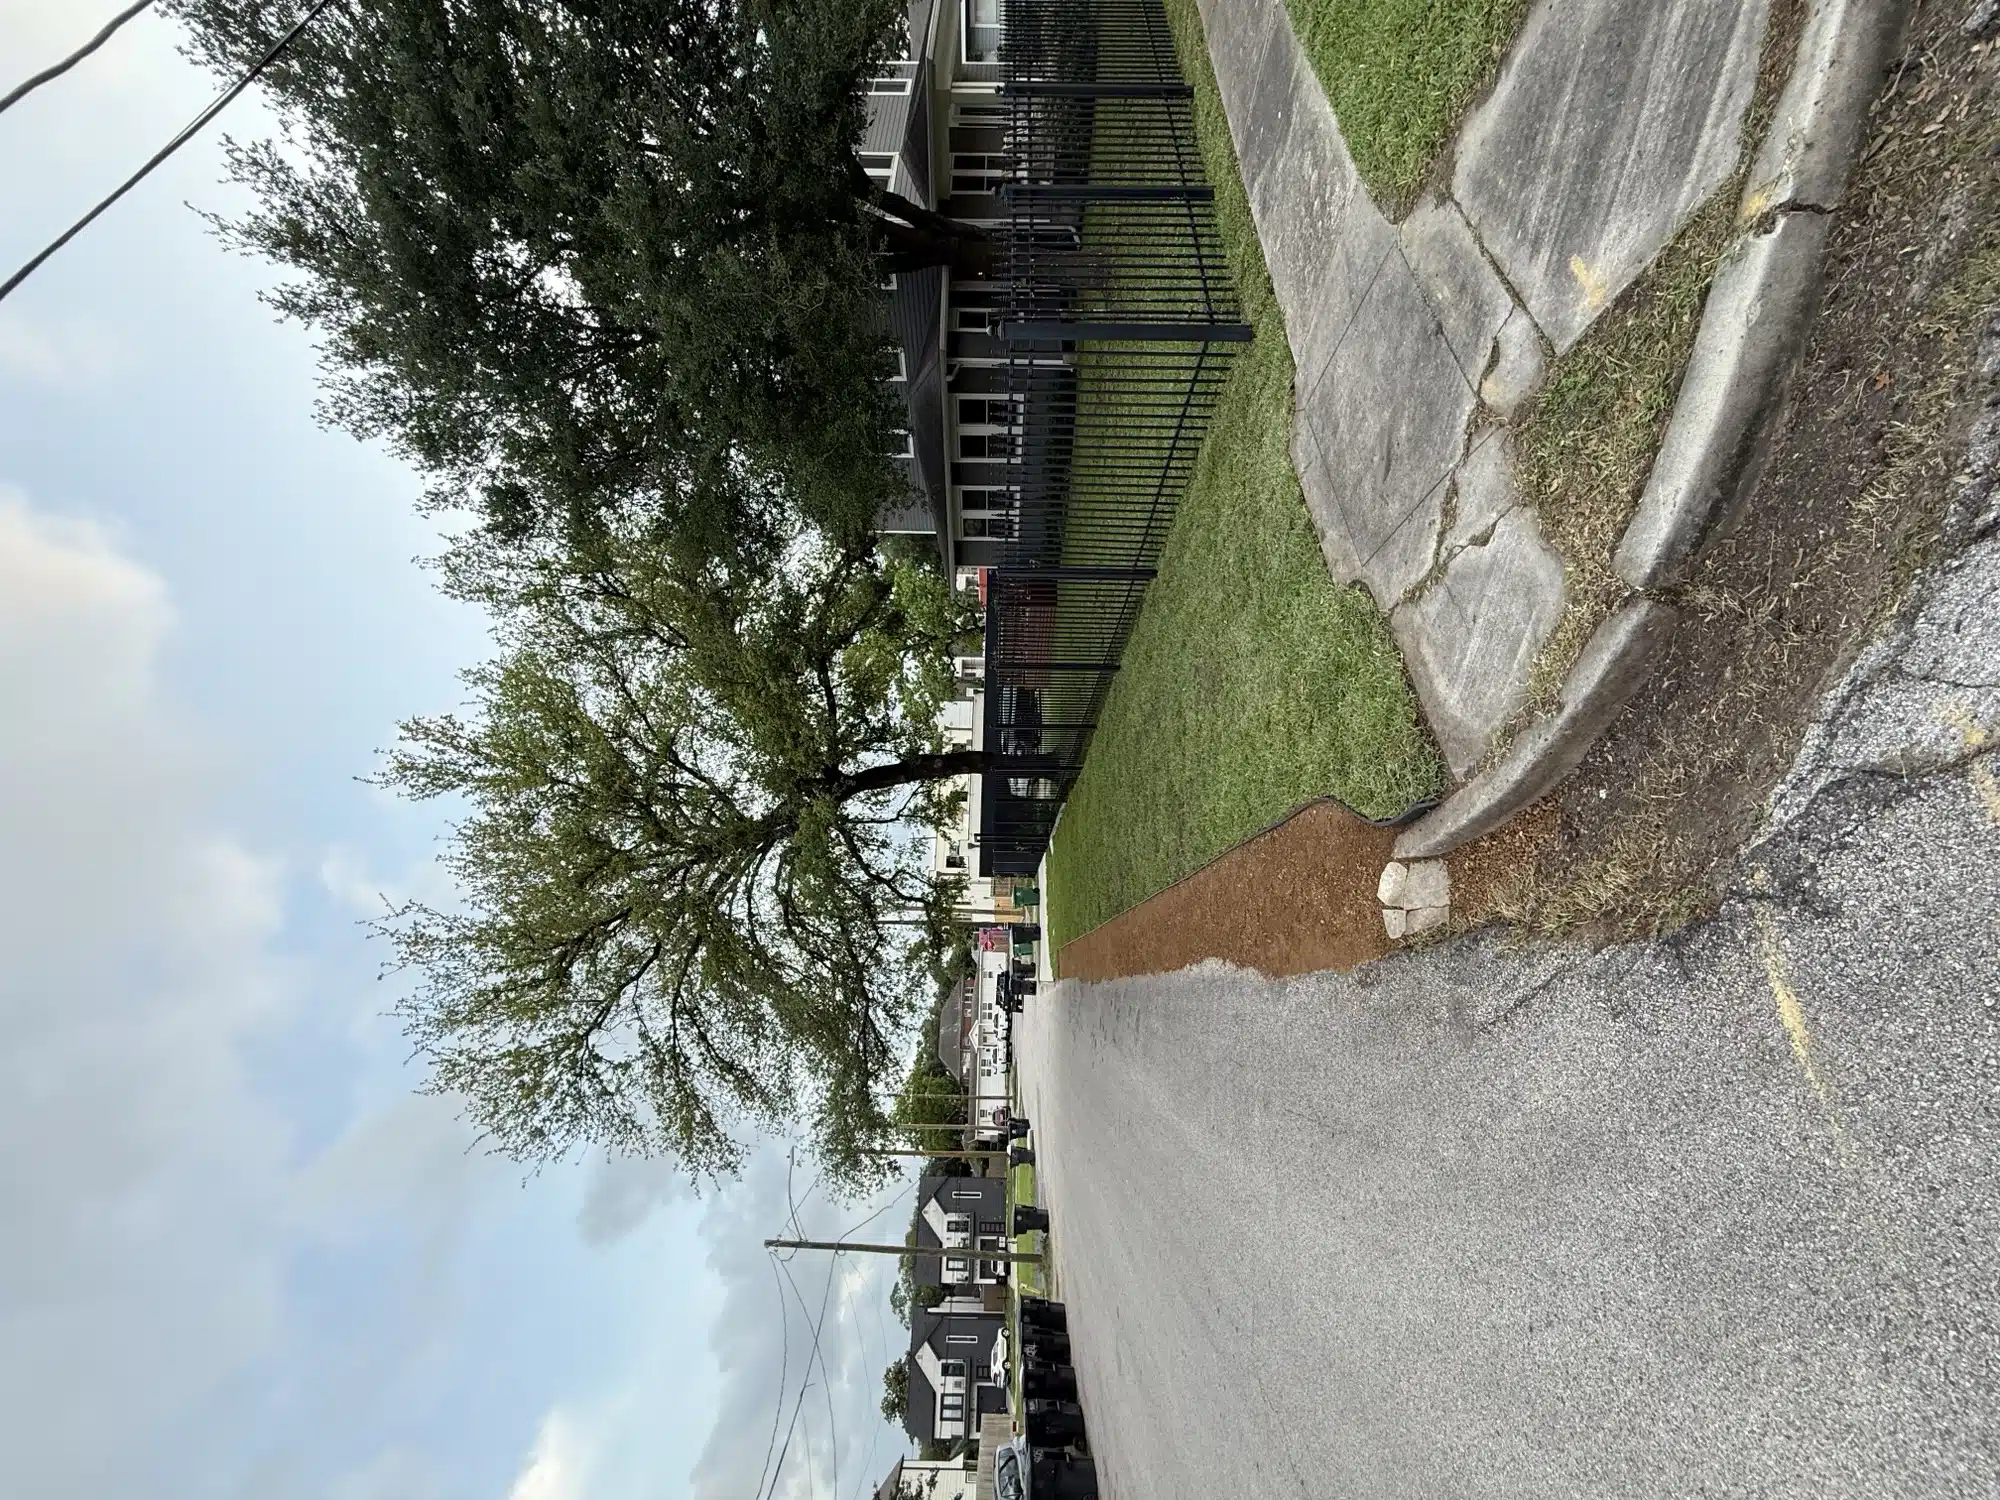
This is where a lot of sod projects succeed or fail before the grass is even installed. Start by clearing the area of old grass, weeds, debris, rocks, roots, and anything that blocks clean soil-to-sod contact. Sod needs to touch the soil. If it sits on trash, old roots, compacted clumps, or uneven fill, rooting becomes patchy.
Grading matters too. Water should not run toward the house, sit against concrete, or collect in soft low spots. Houston clay can create a bathtub effect, especially after the April Deluge. If water has nowhere to go, fresh sod may stay wet too long, rot at the root zone, or invite disease pressure.
If your yard has known lawn failure history, do not skip soil evaluation. pH, prior chemical use, poor drainage, compacted clay, and low organic matter can all affect new sod. For related soil support, our guide on healthy soil for lawns and gardens explains why soil condition matters before planting or sodding.
Houston clay tells on itself. When it sticks to your shovel like wet pottery clay, smears instead of crumbling, and holds footprints after rain, you are not dealing with a simple green-carpet project. You are dealing with soil physics.
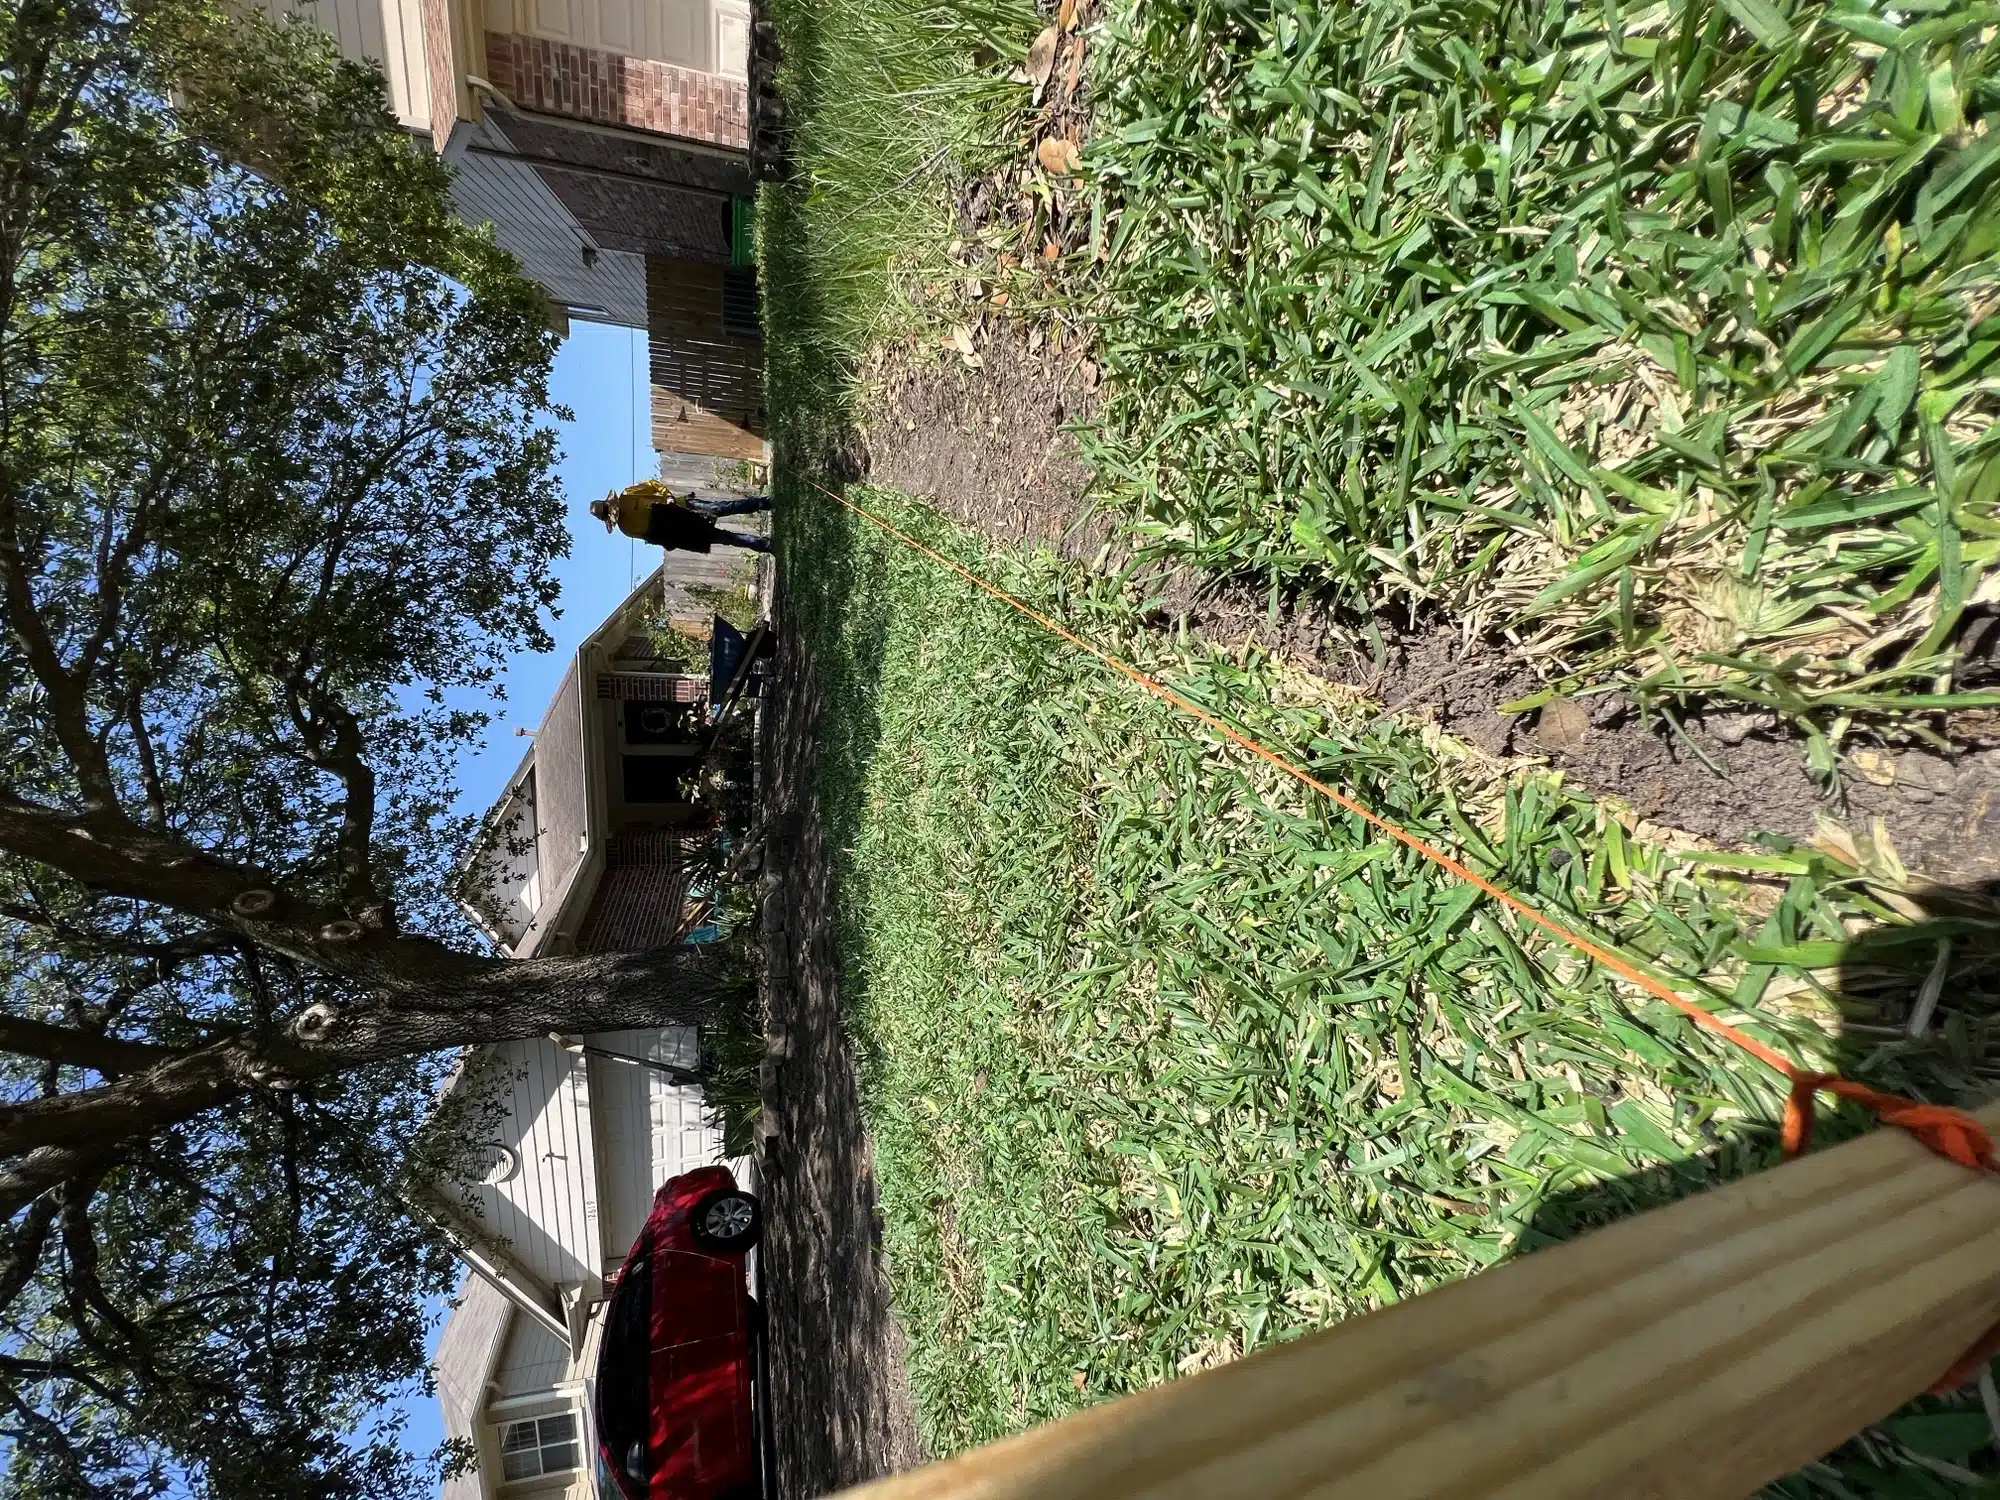
The first row controls the lawn.
Always start along a hard, straight edge like a driveway or sidewalk. Better yet, use a string line for the first row. If the first line is crooked, the whole lawn starts drifting. It may not seem obvious with one piece, but by the time you reach the other side of the lawn, the problem shows.
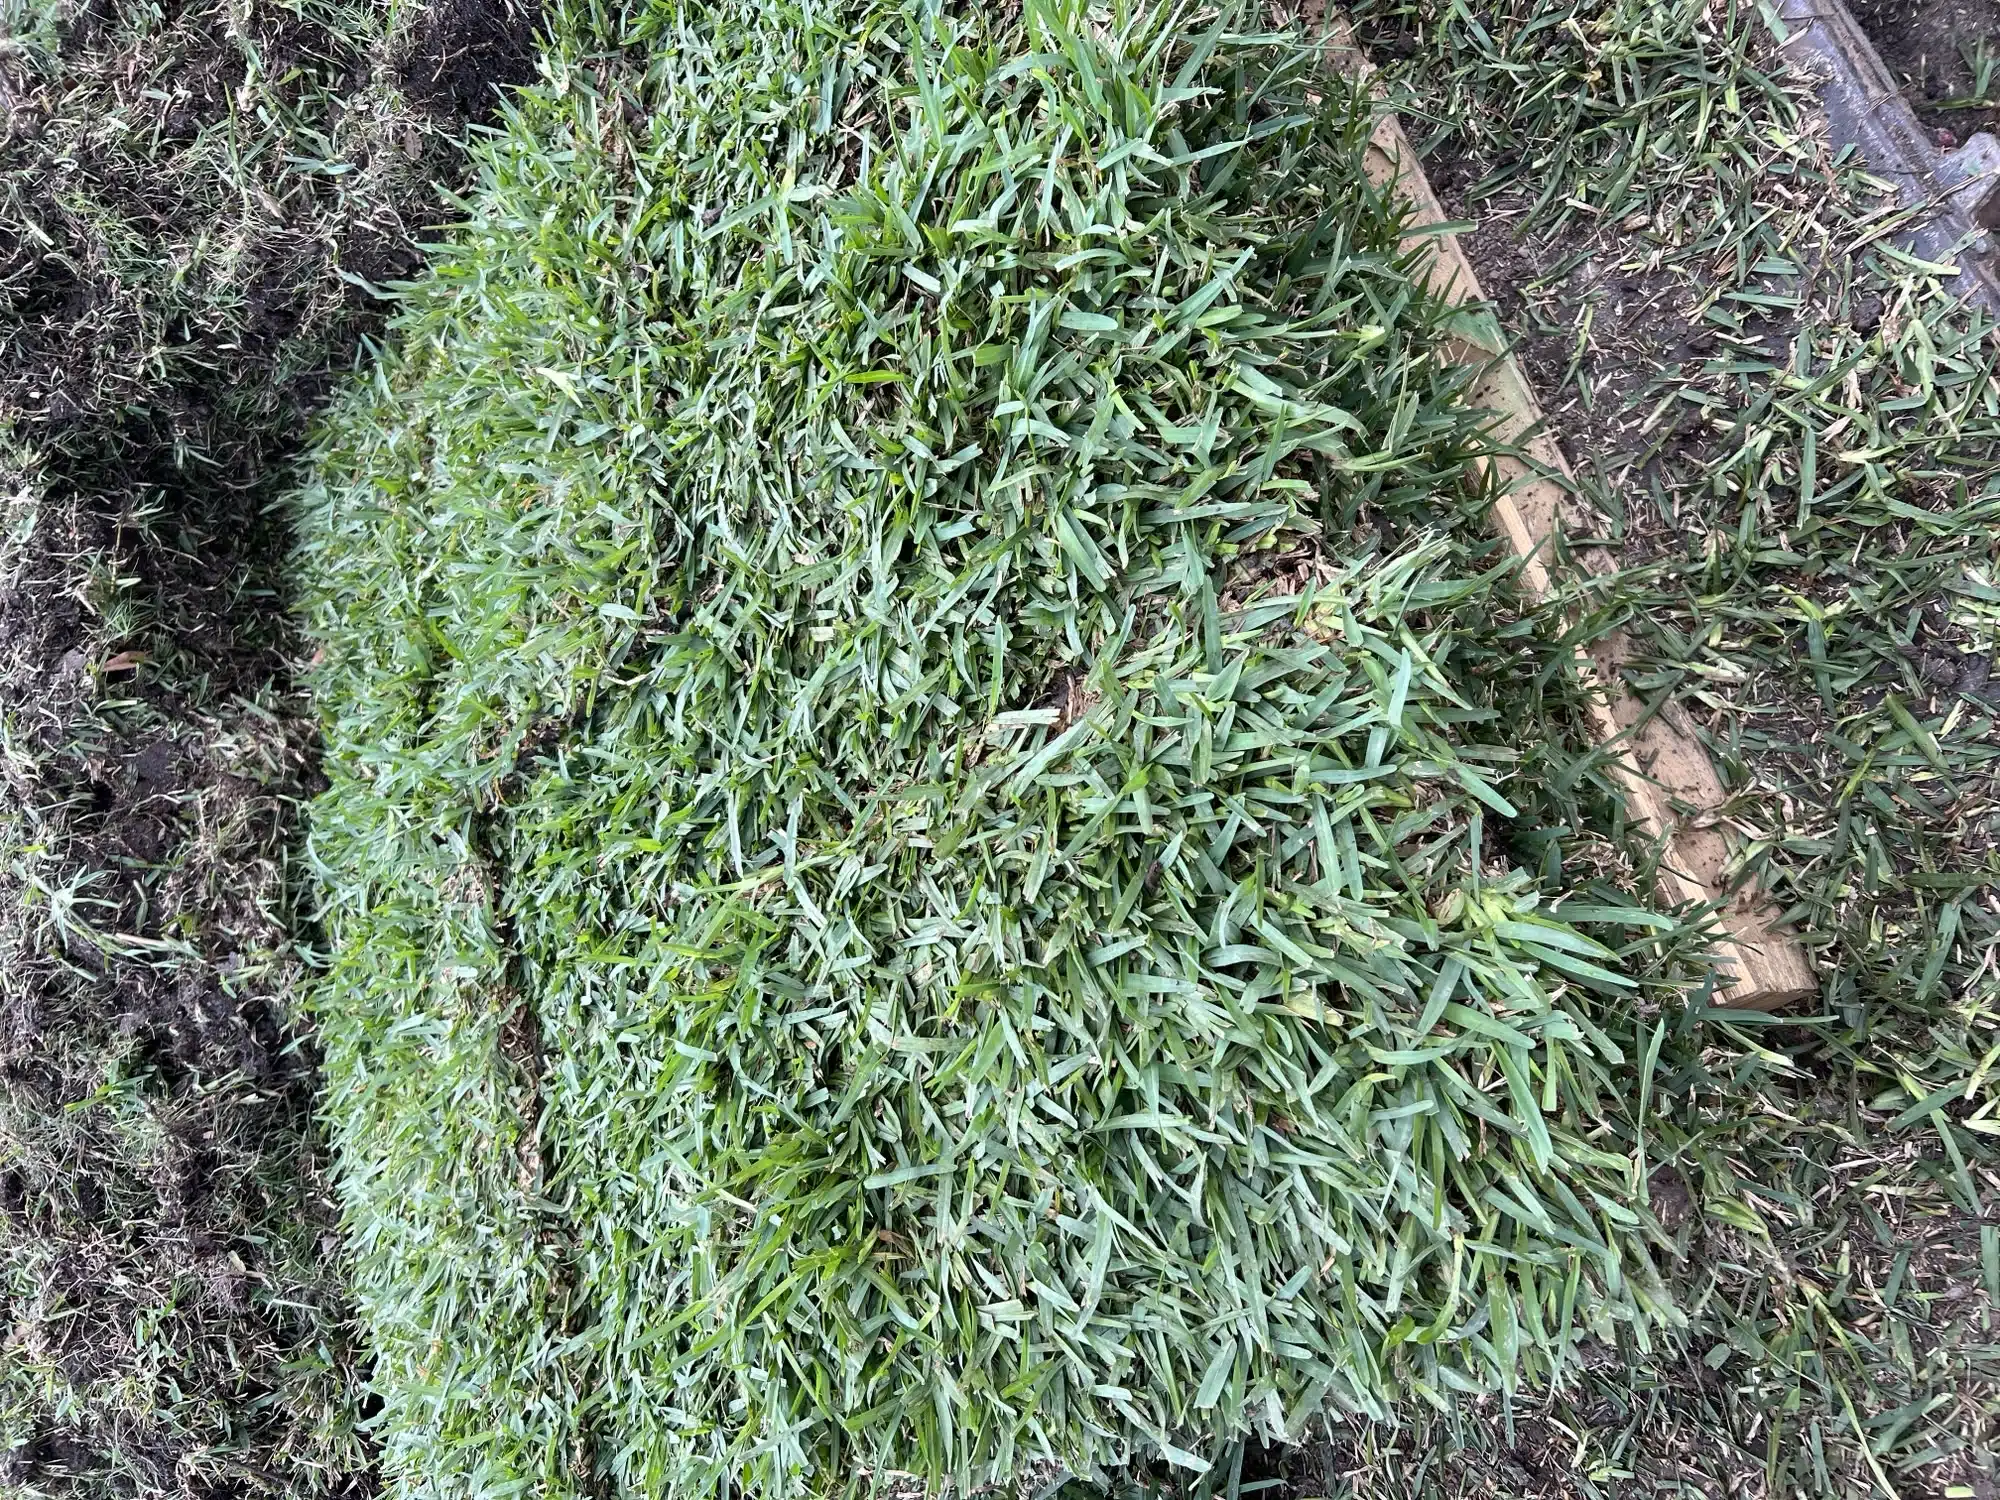
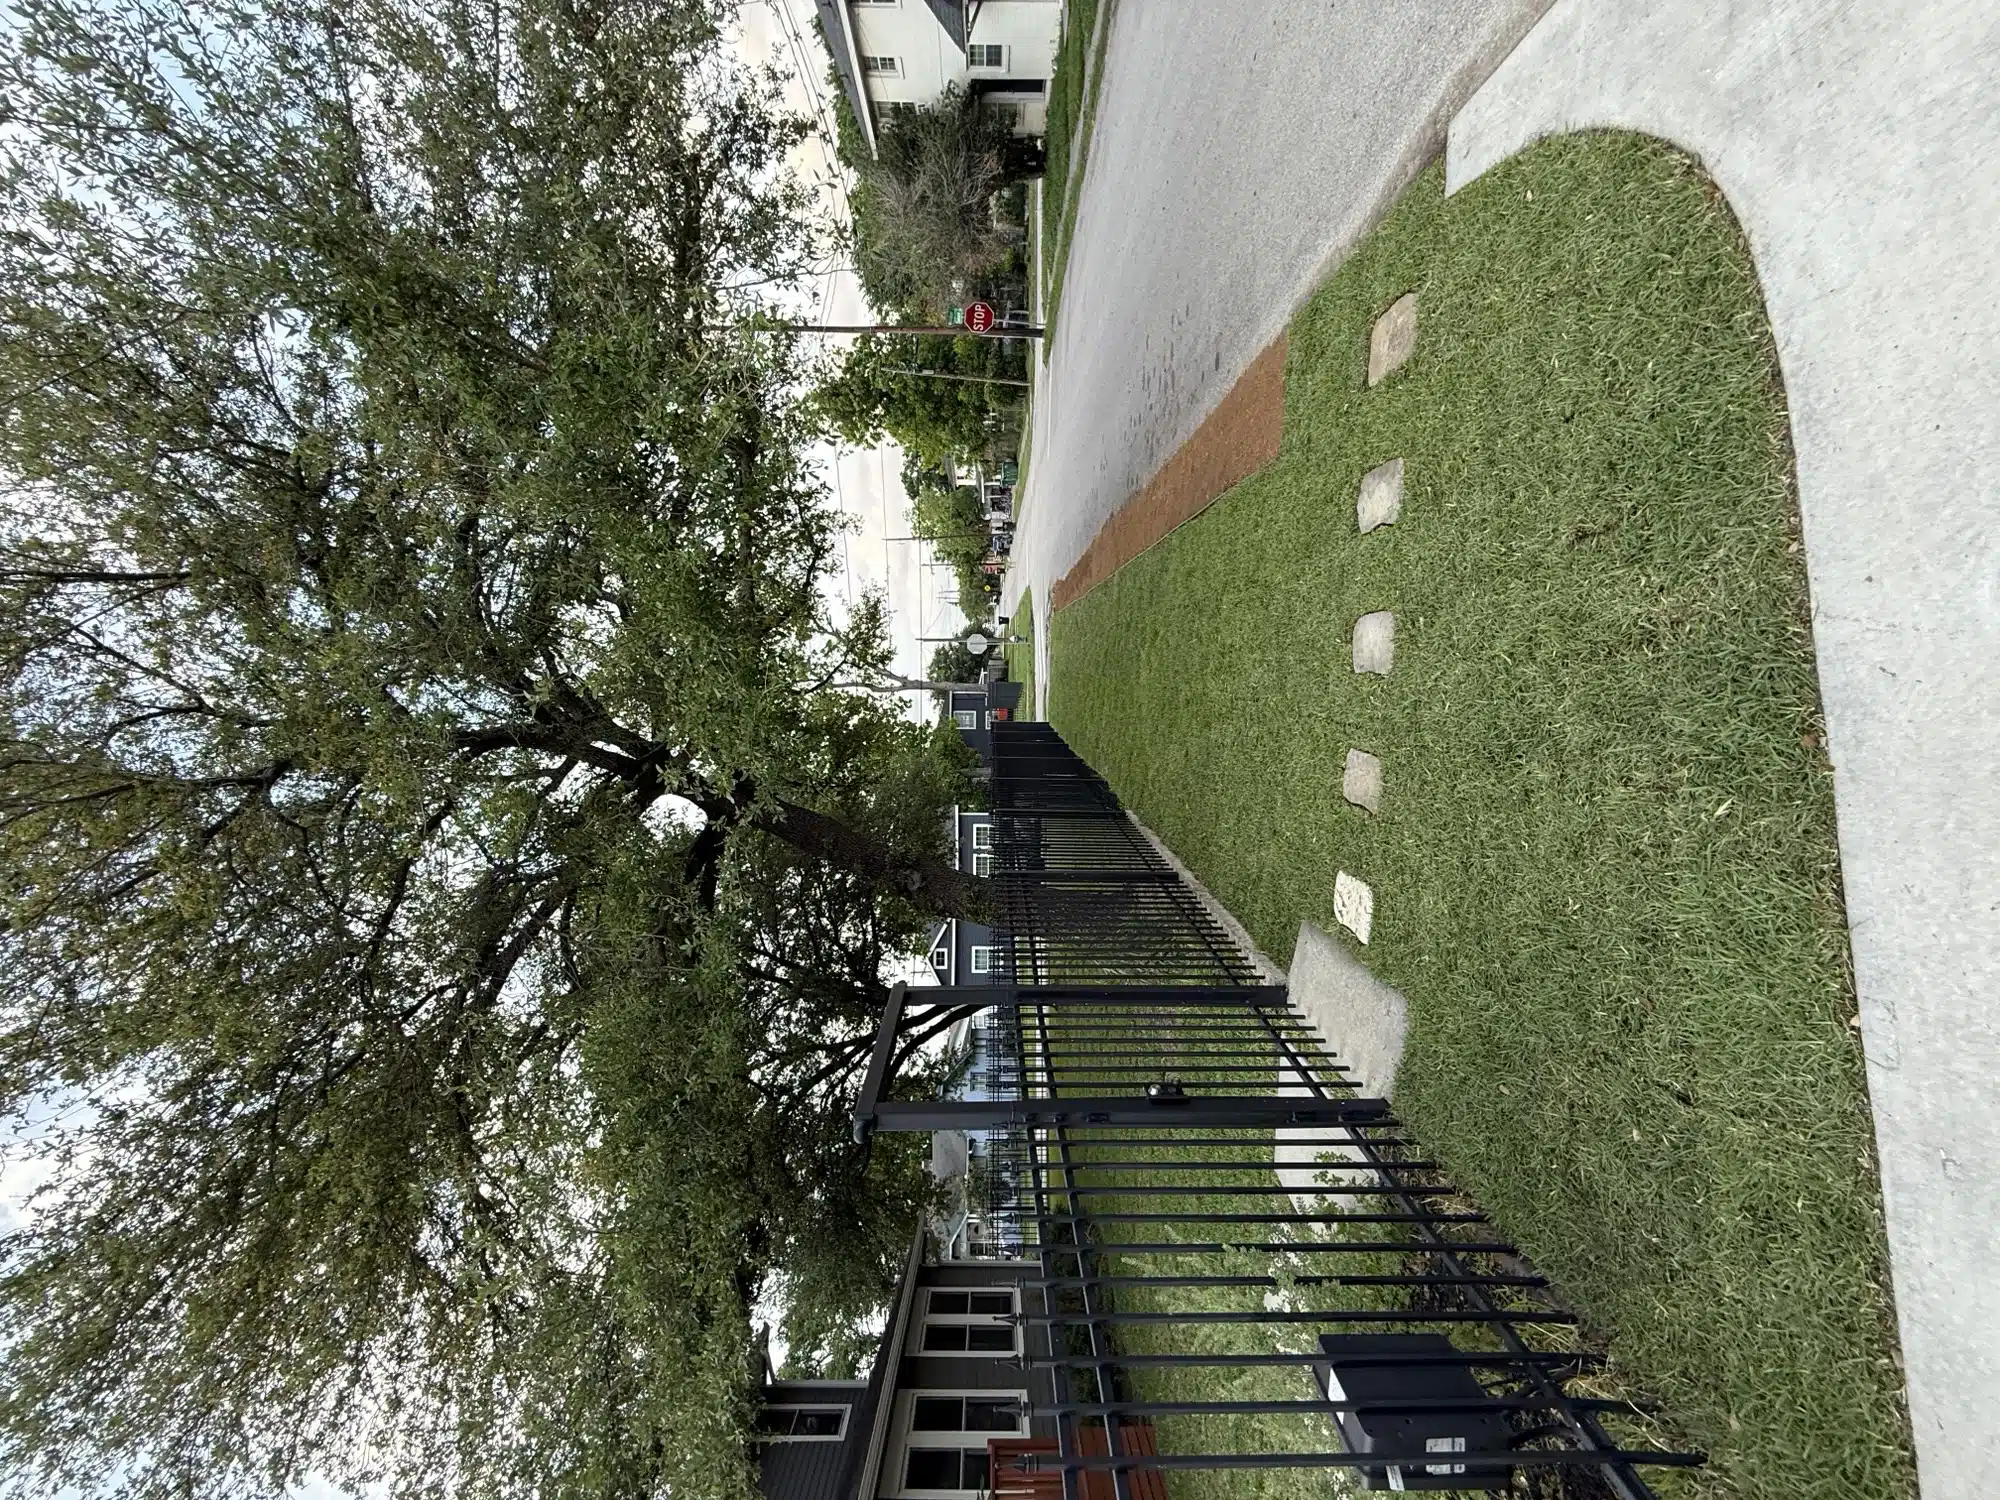
Lay sod in a staggered, brick-style pattern so seams do not line up. Push edges tight together without overlapping. Gaps dry out fast. Overlaps create weak seams and raised spots that show up later when the lawn settles.
Slopes need extra attention. Sod wants to slide before it roots. Start at the bottom and work upward, laying pieces across the slope rather than straight down it. On steeper areas, sod staples or pins may be needed to hold pieces in place until roots grab.
Watering is the pressure test.
Immediately after installation, water the sod thoroughly so both the sod and the soil beneath are moist. The goal is not just wet grass on top. The goal is moisture where roots need to connect.
For the first couple of weeks, the lawn usually needs consistent moisture while roots begin to anchor. In hot or windy weather, especially during Houston summer, some lawns may need more frequent watering to prevent edges and seams from drying out. After the first establishment phase, transition toward deeper, less frequent watering so roots start growing down instead of staying shallow.
Do not treat new sod like an established lawn. Avoid heavy foot traffic until roots begin anchoring. Keep pets, kids, and equipment off the lawn as much as possible. When mowing begins, wait until the grass is ready and keep the first cuts on the taller side. Always use sharp blades. A dull blade can pull, tear, or lift young sod before it is secure.
For a deeper look at why new sod struggles, read our guide on why new sod fails in Houston. That article is the better resource for troubleshooting failure patterns, while this guide stays focused on the installation process.
New sod still needs babysitting.
After the initial watering period, continue checking root establishment. A simple test is to gently lift a corner. If there is resistance, roots are starting to anchor. If the sod lifts easily, it still needs time and careful moisture management.
Watch for warning signs like uneven color, curling blades, soft spots, dry seams, or pieces pulling up at the corners. Small adjustments early are easier than large repairs later.
Once your lawn is established, ongoing care matters. Our Ultimate Guide to Lawn Care in Houston can help you understand mowing, watering, seasonal stress, and long-term maintenance after sod has rooted.
Before spending money on sod, slow down and inspect the yard. A good sod project is not only about the grass. It is about the conditions the grass is being placed into.
Soil testing is not required for every sod project. Some clients prefer a simpler installation process, while others want the added reassurance of lab-backed information before investing in a new lawn. When soil testing makes sense, it can help us better understand pH, macro and micronutrient levels, and possible soil-related issues that may affect establishment.
Our job is to be upfront, explain the site conditions that matter, and give your sod installation the highest realistic chance of success. We hold a high standard, but sod is still a living plant system. Watering habits, shade, drainage, pest pressure, disease pressure, foot traffic, storm damage, and extreme weather can all affect how a new lawn performs after installation.
Houston truth: a yard can be sunny in March and shaded by May once the tree canopy fills in. That matters. If a grass type is chosen based only on winter or early spring sunlight, it may struggle once oaks, pines, and backyard trees leaf out.
DIY sodding can work.
But it leaves very little room for error. Timing, grading, soil prep, seam alignment, watering, material handling, and the first few weeks of care all affect the result. Small mistakes early can create uneven growth, wasted material, or costly repairs later.
Professional help makes the most sense when the lawn has drainage concerns, major grade changes, construction damage, large square footage, tight access, heavy shade, failed prior sod, or a high-visibility front yard where mistakes will be obvious.
Evergreen’s main sod installation in Houston page explains our professional service in more detail. This guide supports that page by helping homeowners understand the work behind a good install.
If a sod quote is higher than a basic pallet-and-labor price, it is usually because the scope includes the parts that protect the result: prep, grading, hauling, soil improvement, layout, cleanup, access difficulty, and aftercare planning.
Spring and fall are usually the easiest windows because temperatures are milder and watering is easier to manage. Summer and winter installs can still work, but they require stronger attention to water, rooting, and weather conditions.
Yes, if the area is manageable and you are prepared for soil prep, hauling, laying, rolling, watering, and aftercare. Larger areas, drainage problems, or failed prior sod are better handled with professional review.
Wait until the sod has started rooting and the grass is tall enough to mow without pulling pieces up. Use sharp blades, avoid cutting too low, and keep the first few cuts conservative.
It depends on sunlight and site conditions. Bermuda likes full sun, St. Augustine is common for partial shade, and Zoysia creates a dense, refined look when the site matches its needs.
Yes. Service availability depends on location, access, schedule, and scope. You can review our Houston service areas to see where Evergreen commonly works.
If you are unsure whether you need sod, lawn care, cleanup, topdressing, drainage, or another service first, our Evergreen services hub can help you choose the right starting point.
A new lawn is not finished the day the sod is installed. It is finished when roots anchor, watering stabilizes, mowing starts correctly, and the grass begins behaving like part of the property instead of material sitting on top of soil.
Once the lawn is established, a clean mowing pattern and proper maintenance make a big difference in how the sod matures. Sharp blades, correct mowing height, and consistent care protect the investment you made during installation.
For additional general turf education, you can also visit The Lawn Institute.
Sodding can make a lawn look better fast, but the result depends on the work under the grass. If you want the process handled with proper prep, layout, cleanup, and aftercare guidance, Evergreen can help you choose the right sod plan for your property.